Fivetran and Databricks Apps make data applications easy


Databricks Apps are one of Databricks’ newest, most powerful, yet underutilized features. After Fivetran moves your data into Databricks, Databricks Apps let you build production-ready, interactive data applications using any of six popular web application frameworks (Streamlit, Gradio, Shiny, Flask, Dash, and Node.js) that run directly within your Databricks environment while providing complete security and governance. You can use Databricks Apps to create reports and dashboards, interactive data apps, predictive analytics, and GenAI applications.
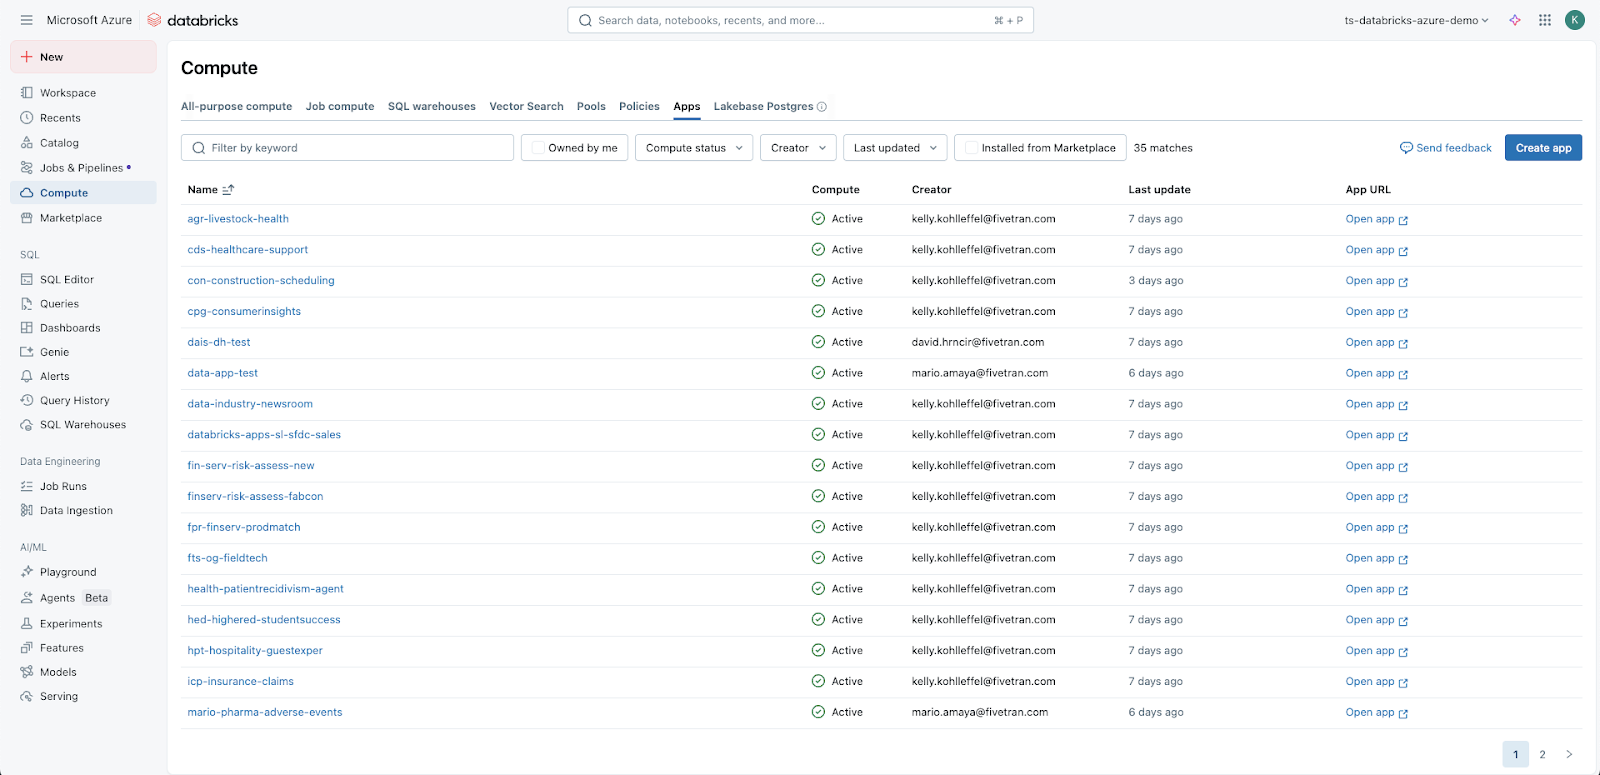
To access Databricks Apps in the Databricks UI, in the left gray navigation, click “Compute,” then select “Apps.”
Databricks Apps is now much quicker and easier to set up
After building a number of custom Databricks Apps for a variety of industries and projects, a common denominator emerged: I was repeatedly wasting time on setup before I could focus on the actual data application logic. Building data applications requires not only building each application but also ensuring that it’s properly configured to work with the rest of the data platform.
Each app required the same manual resource assignment process:
- Clicking through UI dropdowns
- Selecting SQL warehouses
- Assigning serving endpoints
- Configuring secrets
- Setting permissions
- Starting compute
- And more
The time spent on this repetitive workflow would have been better spent building useful functions in the data applications themselves.
The automation script you’ll find in this Git repo was born from this realization. It eliminates manual setup entirely, letting you jump straight to what matters: building your custom Databricks data application. I consider it a logical extension of Fivetran’s philosophy of ensuring ease of use and automation at scale; by taking care of chores, the script brings you another step closer to serious creative and intellectual data work.
The script supports all frameworks compatible with Databricks Data Apps and automatically discovers and assigns resources. You can go from naming your application to a deployed and tested working application in 5–6 minutes total.
In broad strokes, the steps look like this:
- Install Databricks CLI v0.261.0+ and
jq(databricks - versionandjq - version) - Create
.envfile with your workspace credentials and resource names - Verify existing resources exist (SQL warehouse, secret scope, serving endpoints)
- Download
create-databricks-app.shfrom the GitHub repository - Run
chmod +x create-databricks-app.shto make executable - Execute
./create-databricks-app.shand follow interactive prompts - Replace generated sample code with your custom application logic
- Use the provided sync/deploy commands for ongoing development
Step-by-step implementation
The script builds out a simple, fully functional Databricks app with all resources configured, permissions assigned, and a working sample application ready for customization. That is, you can immediately begin writing application code across any of the 6 supported Databricks data application frameworks.
Prerequisites:
Of course, your Databricks instance needs to be set up and available.
- Databricks CLI v0.261.0+
jqfor JSON parsing- Existing Databricks resources (SQL warehouse, secret scope, serving endpoints).
You can then start by adjusting several parameters in a .env and .sh file. After that, you can run the Shell script from the Databricks CLI.
1. Prepare your environment configuration and fill in .env
Create a .env file with your Databricks credentials and resource references. An example .env file is provided in the repository for your reference.
DATABRICKS_HOST=https://your-databricks-host-name-here
DATABRICKS_TOKEN=your-databricks-token-here
SQL_HTTP_PATH=/sql/1.0/warehouses/your-warehouse-id-here
SECRET_SCOPE=your-secret-scope-name
SECRET_KEY=secret
DEFAULT_UC_CATALOG=your-catalog-name
DEFAULT_UC_SCHEMA=your-schema-name
DEFAULT_UC_TABLE=your-table-name
There are several parameters you will need to update in the .env:
DATABRICKS_HOST— your workspace URL (e.g., https://adb-xxxx.azuredatabricks.net)DATABRICKS_TOKEN— Personal Access TokenSQL_HTTP_PATH— copy from your SQL Warehouse connection detailsSECRET_SCOPE,SECRET_KEY,APP_SECRET_NAME— where your token is stored in Databricks SecretsDEFAULT_UC_CATALOG,DEFAULT_UC_SCHEMA,DEFAULT_UC_TABLE— seeds for the script’s prompts
Note: .env is ignored by .gitignore by default.
2. Match resource names in the create-databricks-app.sh script
Download the create-databricks-app.sh file.
Open up create-databricks-app.sh and, starting at line 26, make sure these match existing resources in your workspace:
EXISTING_WAREHOUSE_NAME="your-databricks-warehouse-name"
EXISTING_SECRET_SCOPE="your-secret-scope-name"
EXISTING_SECRET_KEY="your-databricks-token-secret"
Optional (if your endpoints differ):
# Replace any that don’t exist in your region/workspace
ENDPOINT_NAMES[1]="your-serving-endpoint-1"
# ...
ENDPOINT_NAMES[8]="your-serving-endpoint-8"
Note: I’ve been using eight serving endpoints in my Databricks Apps since I like to test models from app to app and keep them available in a dropdown selector. You don’t have to go with that many. Databricks continues to make new models available as serving endpoints on a regular basis. You can find these in the left gray navigation under “AI/ML” then “Serving.”

The script uses your existing Warehouse/Secret/Endpoints and assigns the right permissions (e.g., CAN_USE / READ / CAN_QUERY). It won’t fail if some endpoints are missing — it warns and continues.
3. Make the script executable
From the command line, navigate to the script’s directory and give yourself permission to execute it.
chmod +x create-databricks-app.sh4. Execute the automation
Then, run the script.
./create-databricks-app.sh5. Select your data application framework
Choose from 6 supported frameworks. The script will prompt you in the CLI:
Select a Databricks Data App Type:
Select a Databricks Data App Type:
1. Streamlit (default) – Best for building interactive data-driven dashboards and apps with minimal code, using simple Python APIs and widgets.
2. Gradio – Ideal for creating quick, shareable interfaces for ML models, often used for demos, testing, and model explainability.
3. Dash – A more production-oriented framework for interactive web apps, tightly integrated with Plotly for advanced charting.
4. Shiny – Brings the R “reactive programming” paradigm into Python, enabling reactive UIs and data visualizations.
5. Flask – A lightweight but flexible web framework, well-suited for building custom APIs or integrating app backends.
6. Node.js – For JavaScript/Express server-side apps, enabling full-stack web applications, REST APIs, or custom services.
Enter choice 1-6 (Default 1):
6. Configure application parameters
You will also be prompted for the following:
App name (lowercase, a-z0–9-, between 2–30 characters): my-data-app
Bundle name (my-data-app-bundle):
Unity Catalog (UC_CATALOG) (your-catalog-name):
UC schema (UC_SCHEMA) (your-schema-name):
UC table (UC_TABLE) (your-table-name):
Add extra Serving Endpoints? Enter count 0–4 (default 0): 0
From here, the automation takes over. You can sit back and relax, or better yet, start building your new data app, because your environment will be ready for your custom app code in about 5–6 minutes.
7. Automatic resource discovery and validation
The script automatically discovers, validates, and assigns your existing Databricks resources:
- SQL warehouses with
CAN_USEpermissions - Secret scopes with
READaccess - 8 default Foundation Model serving endpoints with
CAN_QUERYpermissions - Unity Catalog resources
8. Generate a complete application structure
The script creates framework-specific files automatically:
your-project/
├── create-databricks-app.sh     # The automation script (you provide)
├── .env                         # Your credentials (you provide)
├── databricks.yml               # Bundle configuration (generated)
├── app.yaml                     # App runtime configuration (generated)
├── app.py or app.js             # Sample app (generated, depends on app type)
├── requirements.txt             # Python dependencies (generated for Python apps)
├── package.json                 # Node.js dependencies (generated for Node.js apps)
├── .gitignore                   # Git ignore rules (generated)
└── .databricks/                 # Bundle cache (generated)
9. Deploy bundle and assign resources
The script automatically executes:
databricks bundle validate
databricks bundle deploy
Resources are now assigned to your app’s service principal.
10. Deploy application code with retry logic
The script deploys framework-specific sample code that demonstrates:
- Resource connectivity testing
- Environment variable access patterns
- Working foundation for customization
databricks apps deploy your-app - source-code-path /path/to/files11. Start Compute and Validate Deployment
The script provides automated app compute startup and validation as well.
databricks apps start your-app-name12. Output development commands and app URL
The script provides your specific app URL and ongoing development commands — these are generated automatically by Databricks and are also available in the Databricks UI for the new app.
Once you’ve added the custom app code to the project, use the following to deploy to Databricks.
🌐 App URL: https://your-workspace.databricks.net/apps/your-app
🔄 Sync future edits: databricks sync - watch . /path/to/files
🚀 Deploy updates: databricks apps deploy your-app - source-code-path /path/to/files
Making sure your script runs successfully
Your script might fail for the following reasons. Luckily, they should be easy to fix:
- Resource naming mismatches: The script expects specific resource names in your workspace. Update
EXISTING_WAREHOUSE_NAMEandEXISTING_SECRET_SCOPEvariables in the script to match your environment before running. - Missing Foundation Model endpoints: Serving endpoints vary by Databricks region and workspace configuration. The script continues with available endpoints and provides warnings for missing ones — this is expected behavior, not a deployment failure.
- App name validation errors: Names must be 2–30 characters, lowercase, using only a-z, 0–9, and hyphens. The script validates input but doesn’t auto-correct invalid names, requiring manual retry.
- Permission propagation delays: Resource assignment can take 30–60 seconds to propagate across Databricks services. The script includes retry logic, but complex environments may require manual verification of resource assignments (this should be rare).
- Bundle deployment conflicts: If you’ve previously deployed apps with the same name, the script may encounter conflicts. Clean up existing bundles or use unique app names to avoid deployment issues.
When your script deploys successfully, you will see the following output in your terminal:
✅ Bundle deployed - resources assigned to app!
✅ App source deployed!
✅ App started!
🎉 App deployment complete!

📋 Your app now has these resources assigned:
📊 SQL Warehouse: your-sql-warehouse-name
🔐 Secret: your-secret-scope/your-secret-key
🤖 Serving Endpoints: 8 endpoints with CAN_QUERY permission
Make sure your app works
You will need to make some additional checks in the Databricks UI to ensure your application can work.
- SQL Warehouse with
“Can use”permission - Secret with
“Can read”permission - Serving endpoints with
“Can query”permission
The script should have generated sample application including:
- Resource status dashboard showing all assigned resources
- Connectivity testing buttons for each resource type
- Environment variable display demonstrating access patterns
- Framework-specific UI components proving the app type works correctly
All assigned resources should show “Connected” status when tested through the sample app interface.
With the app now live in your Databricks instance, you can build whatever you need through it.
At Fivetran, we strive to make access to data effortless through automated data integration. By automating the extraction, loading, and transformation of data, teams can access data for every analytical and operational use case and build data products of all kinds. With this script and Databricks Apps, you can automate yet more of the workflow and more quickly set up your team for meaningful, high-impact analytics work.
[CTA_MODULE]
Related blog posts
Start for free
Join the thousands of companies using Fivetran to centralize and transform their data.


