

Amazon Redshift, a fully managed cloud data warehouse that makes it simple and cost-effective to analyze all of your data efficiently, now supports native integration with select Amazon Web Services (AWS) partners, including Fivetran.
Redshift customers can launch a 14-day free trial of Fivetran directly from the Amazon Redshift console — the configuration details are automatically pre-populated. The integration accelerates data onboarding and creates valuable business insights in minutes.
Fivetran extracts application and other source data from both inside and outside of the AWS environment, loads and centralizes all the data into Redshift, and then transforms it within Redshift so insights can be quickly analyzed and shared.
“We use Fivetran to load data into Redshift and they work really well together,” says Sean Rober, Head of Analytics at Zenefits. “Redshift’s super-fast reporting capabilities enable us to derive insights from our data, and Fivetran easily saves us 20 hours a month of human capital that we can use to drive the business forward.”
Here are step-by-step instructions for launching Fivetran from the Redshift console.
How to rapidly provision automated data pipelines for Redshift
Create your Redshift cluster
Step 1. If you don’t already have one, create a Redshift cluster through an AWS CloudFormation template by clicking the icon that looks like the button below. If you already have a cluster, skip to Step 4.

Step 2. Once you land on the Create Stack page you can either use the default values or you can update the stack name, RedshiftNodeCount, RedshiftNodeType, RedshiftPassword.

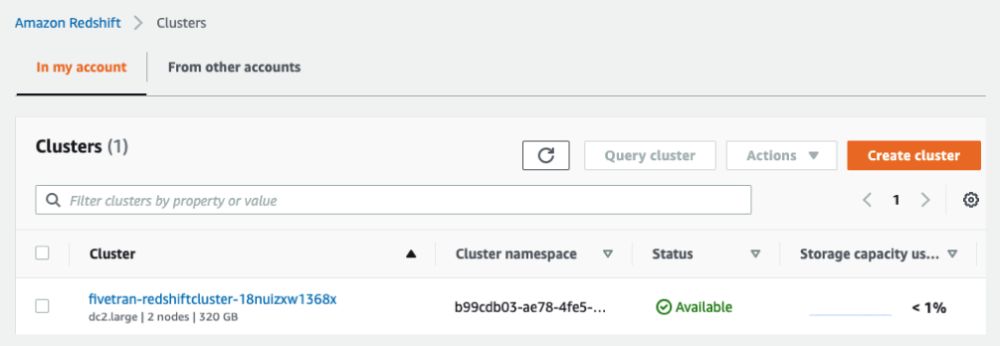
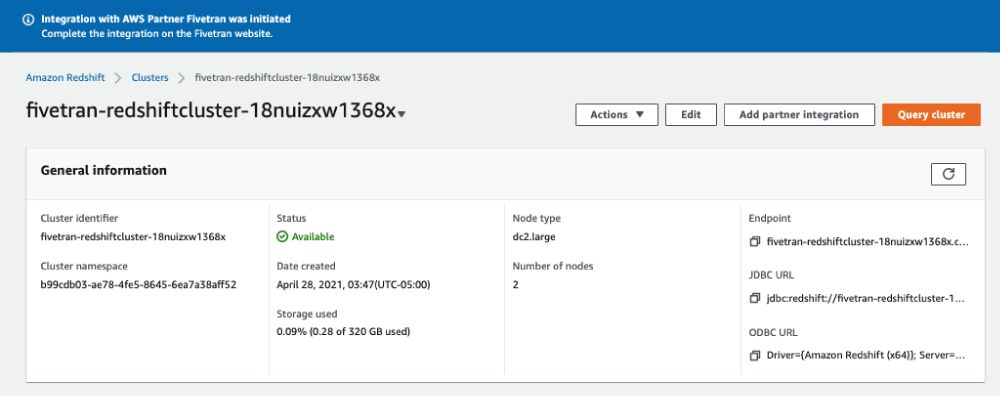
Step 3. Once your stack creation is completed, you can navigate to Amazon Redshift Console and see the cluster that just got created with the status listed as Available, as in the example below.
Launch Fivetran trial
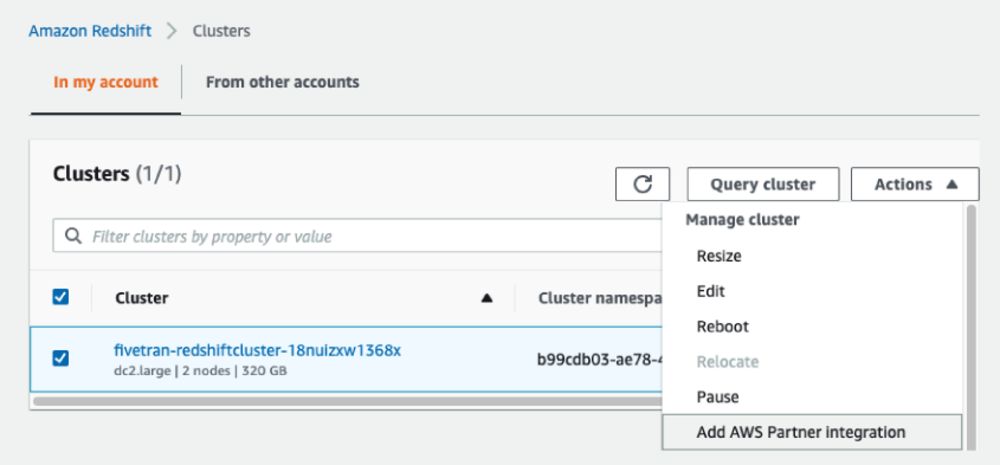
Step 4. Select your cluster. On the Actions menu, choose Add AWS Partner integration.
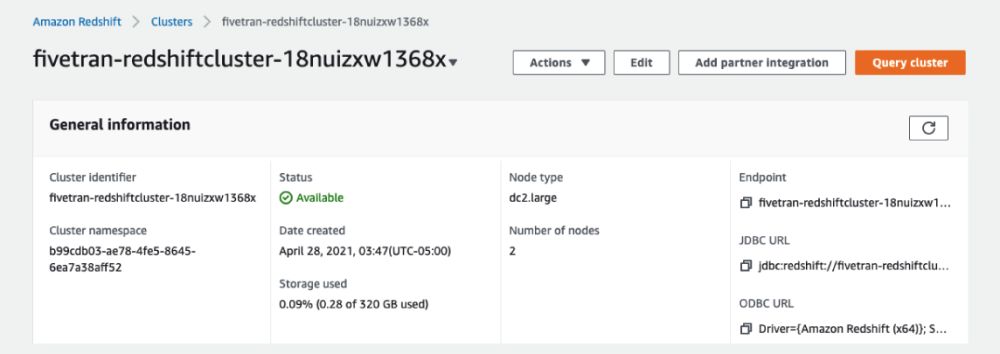
NOTE: Depending on your workflow preference, you could also accomplish the above by clicking your individual cluster name. On its details page, choose Add Partner integration.
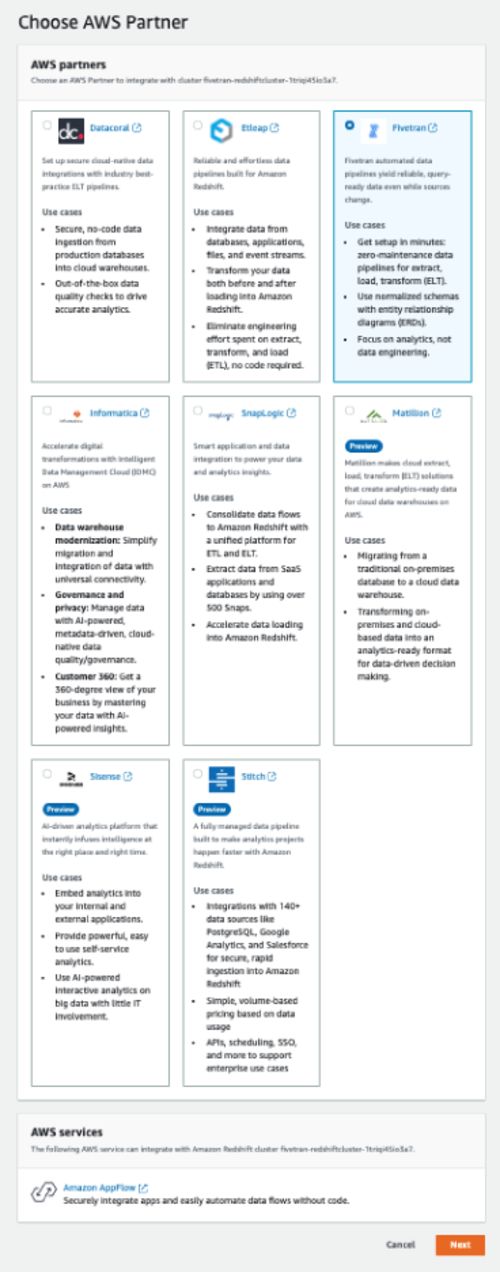
a) Select the Fivetran tile, followed by Next.
b) Click Add Partner.

Step 5. On the Amazon Redshift console, you should see a blue flashbar notification to complete the integration with Fivetran.
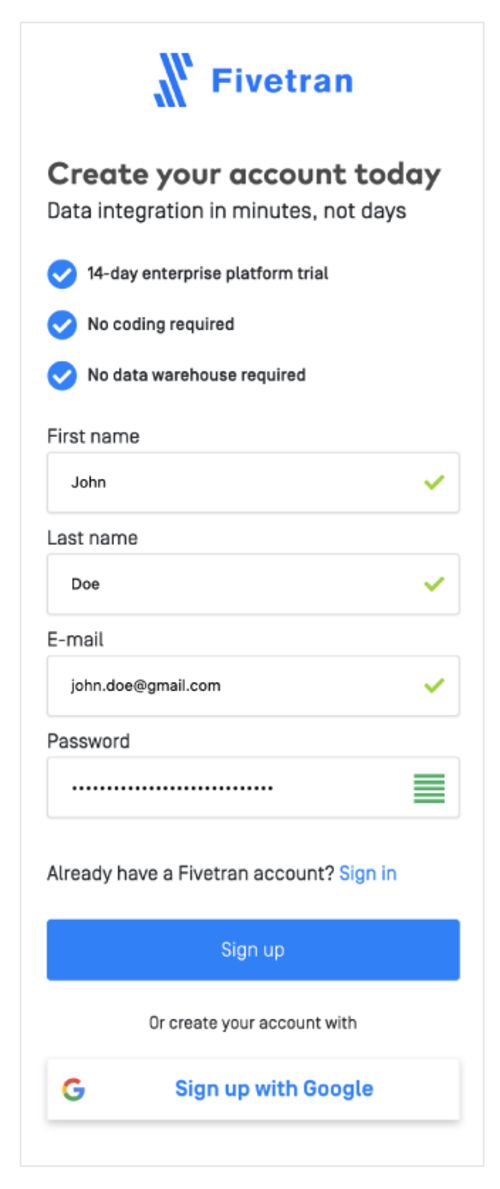
Step 6. On the signup page, enter your details and click Sign Up.
NOTE: To add multiple Amazon Redshift integrations using the same AWS account, use one email ID.
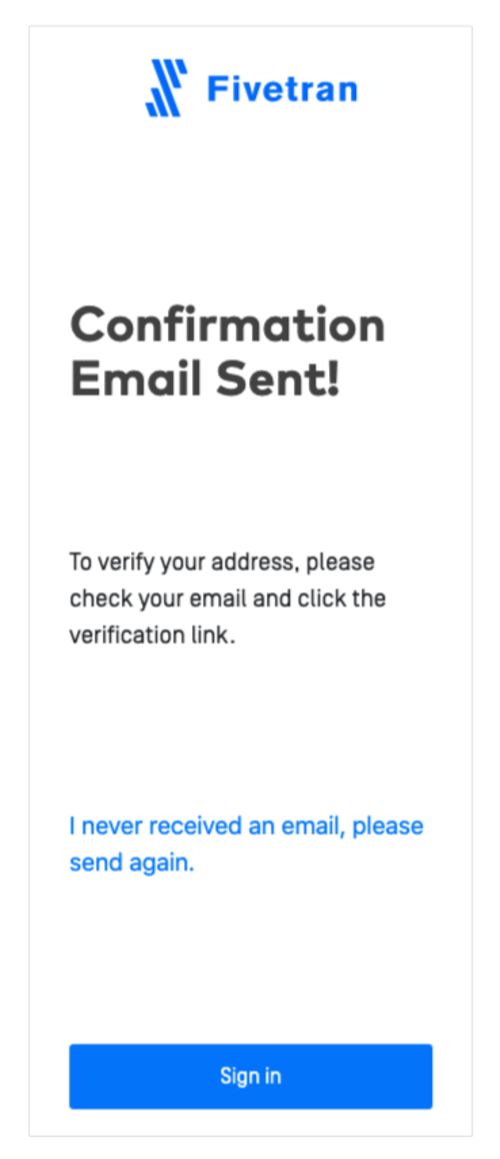
Step 7. Check your email for a verification link.
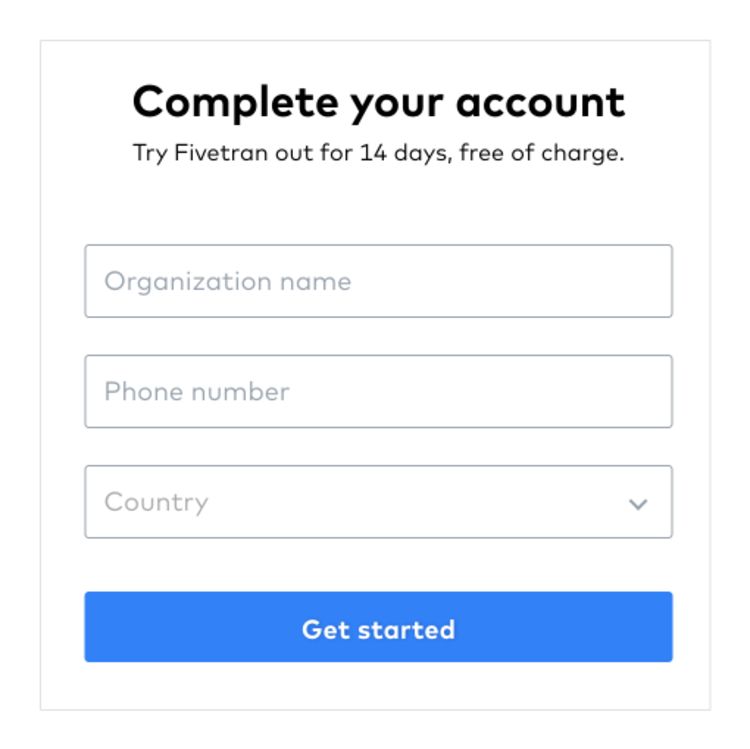
Step 8. When you choose the verification link from the email, you will be redirected to Complete Your Account. Once there, provide your account name, phone number and country.
Set up your Redshift connection
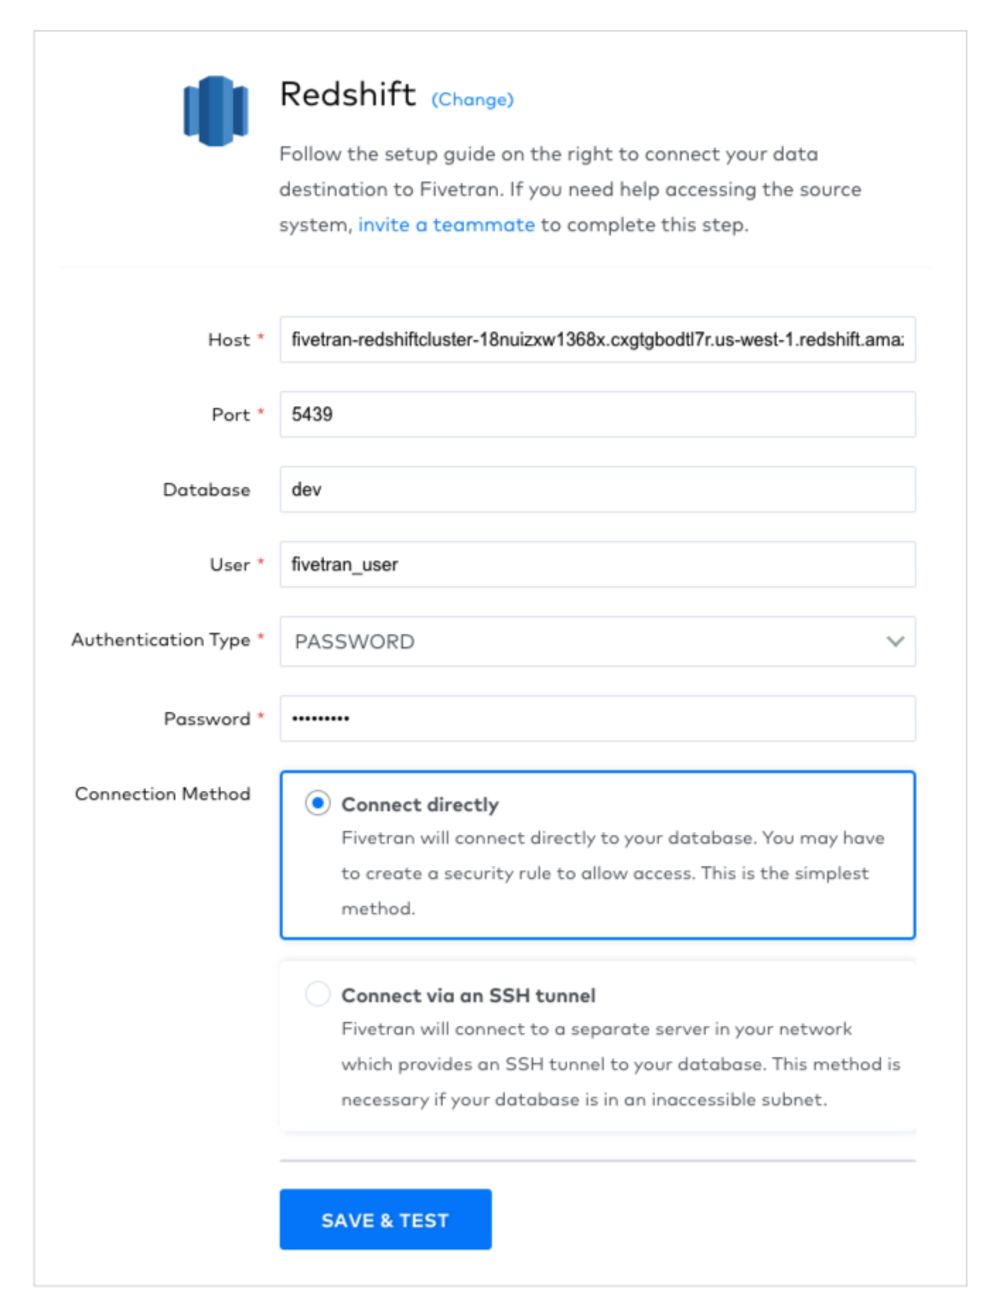
Step 9. After you create an account, you will be redirected to the Amazon Redshift connection page automatically, which will be pre-filled with your cluster details.
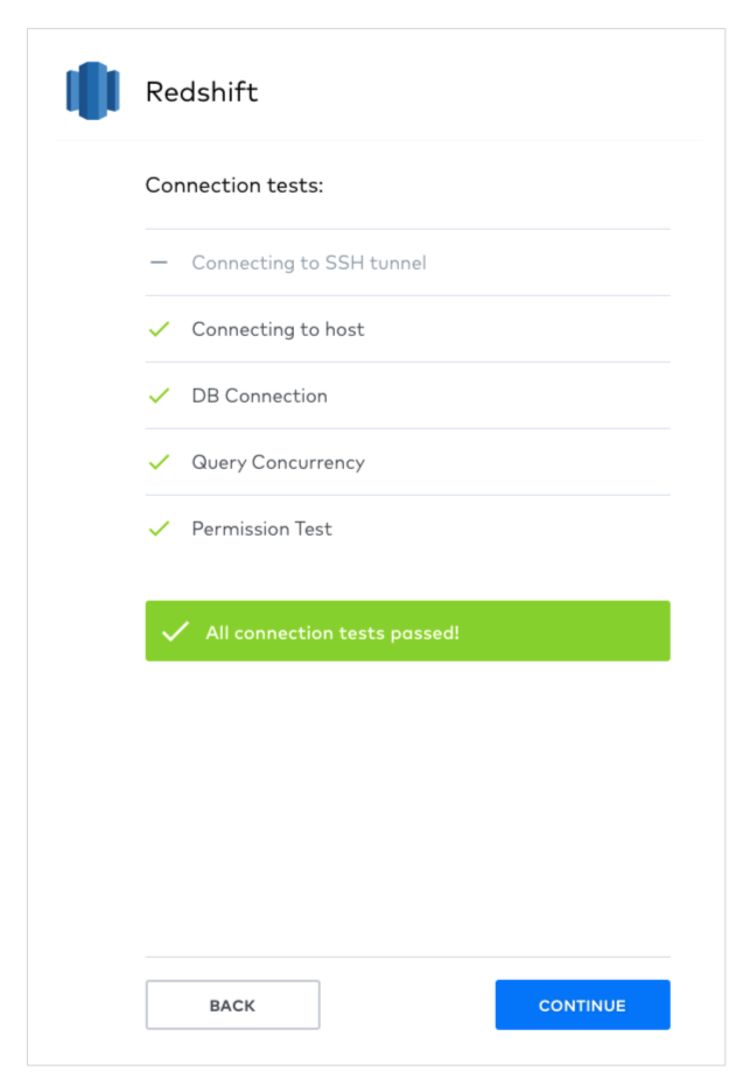
Step 10. Verify your details and enter your Redshift password and click Save & Test. To connect to the Redshift cluster, please make sure to enable the Publicly Accessible option and also whitelist Fivetran IPs in your Redshift Cluster’s security group.
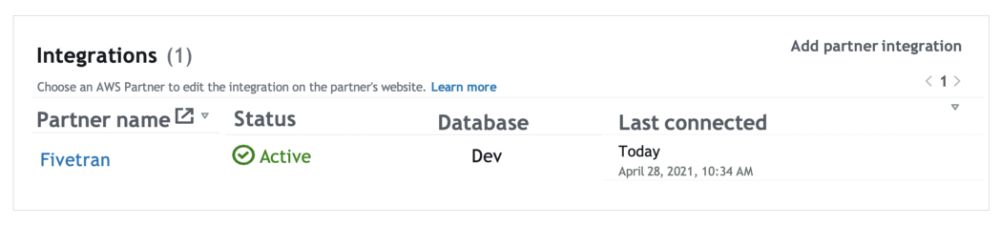
Step 11. You will now see the Active connection on the Amazon Redshift console in the Integrations section of your cluster details.
Connect and sync your data sources to Redshift
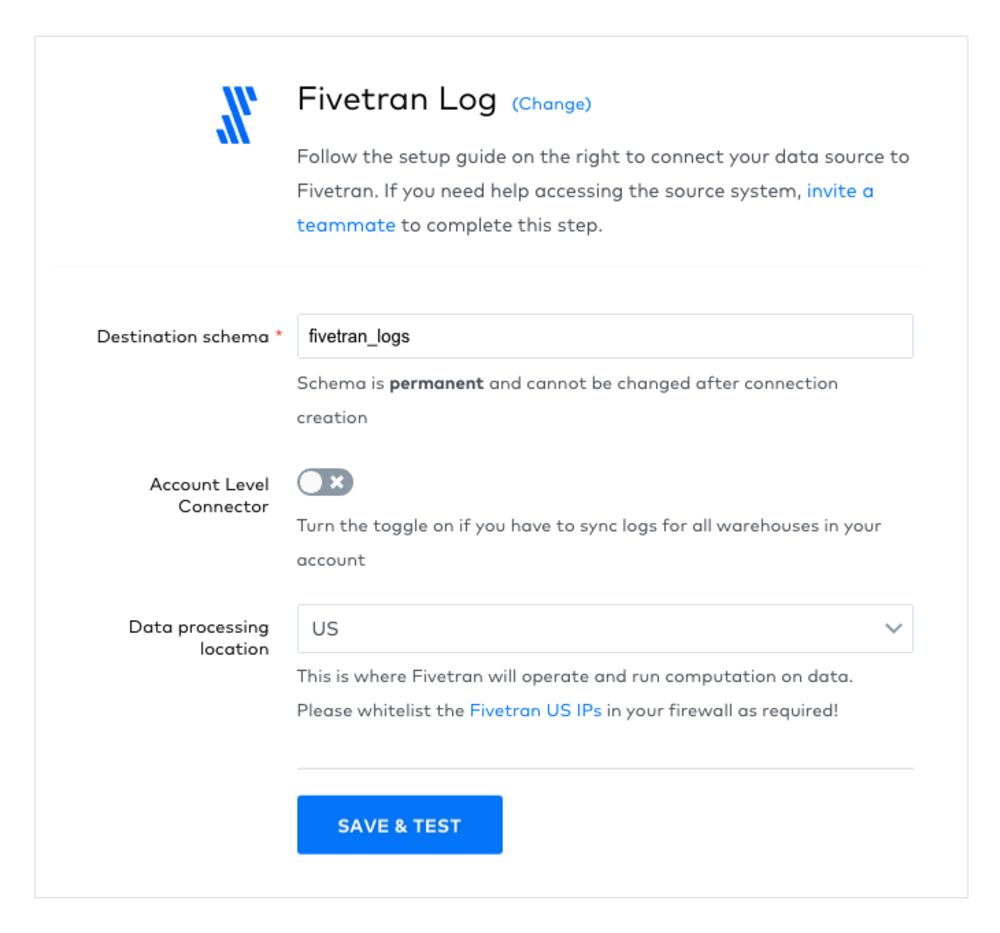
Step 12. After setting up the Redshift connection, you will be brought to the Fivetran UI, where you can choose from a wide range of data sources. For the purposes of this post, we will use Fivetran Log as our data source. Click Continue Setup.

Step 13. Enter the destination schema name that you want to see in your Redshift cluster. Then click Save & Test.
Step 14. After validating your data source, click View Connector.
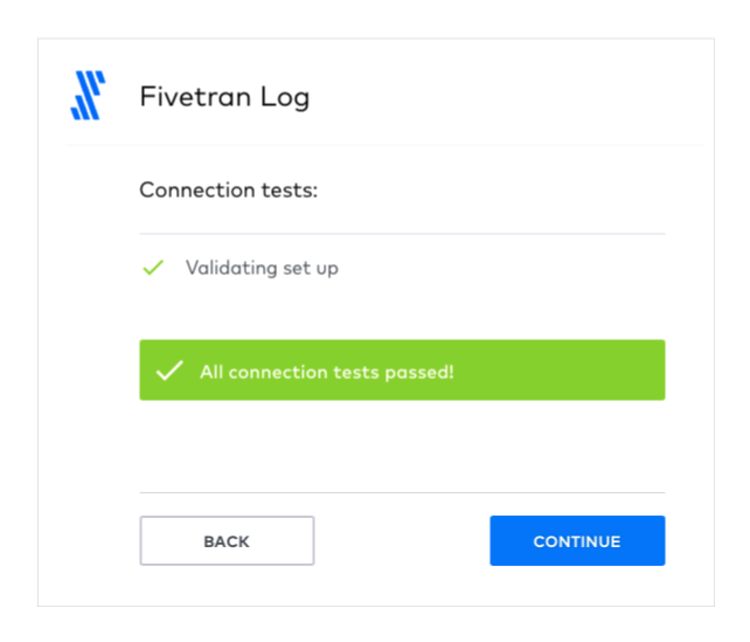
Step 15. To start loading data, click Start Initial Sync.

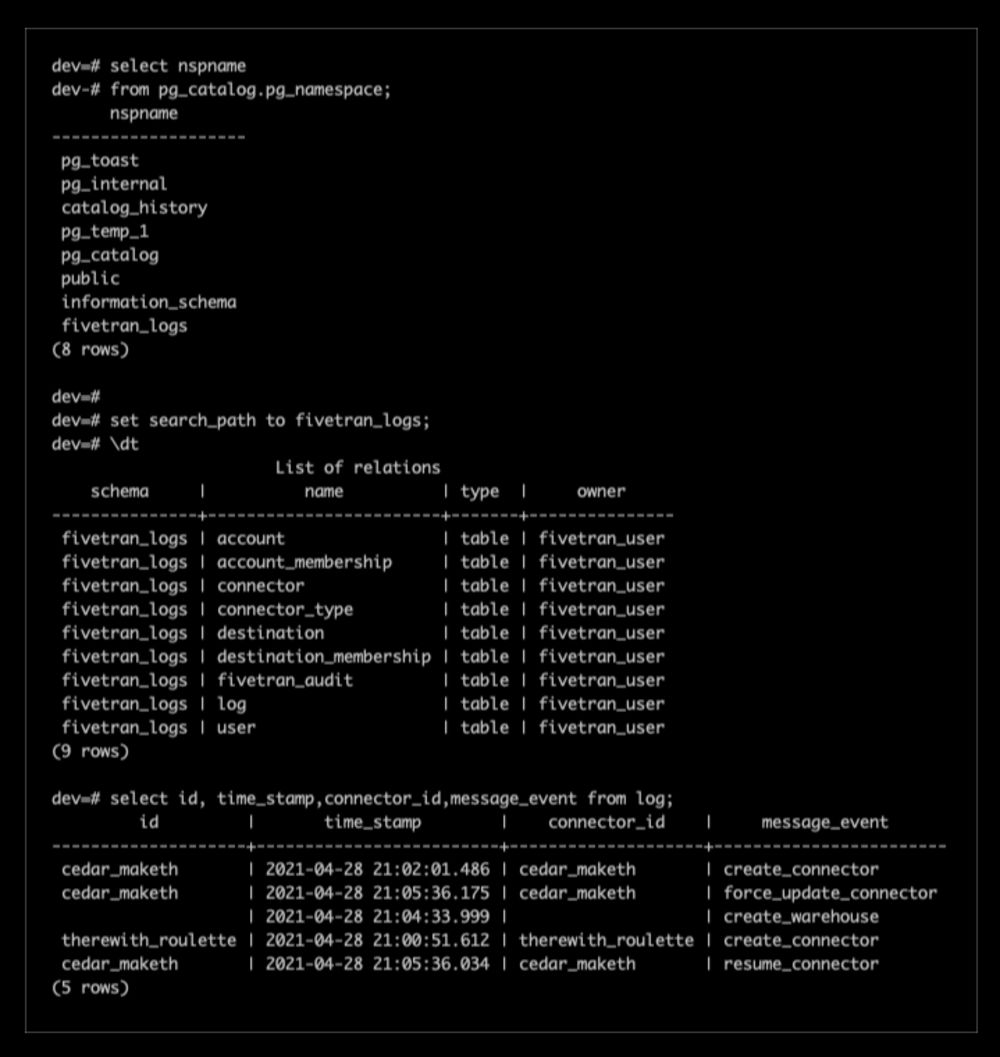
Step 16. Once initial sync is complete, you can connect to your Redshift cluster. You will see a new schema called fivetran_logs and related tables.
Congratulations! Your first Fivetran pipeline sync completed. If you have questions or require assistance at any point during this setup, our team is available to help. Please reach our support team by selecting Support in your Fivetran account.


